
Black Rock Depths Part two
In the last part, we looked at the different ways of approaching Blackrock Depths (hereinafter referred to as the Black Mountain Depths) and the most useful classes for passing. In this article, we'll start progressing through the dungeon itself, and also take a look at some of the bosses.
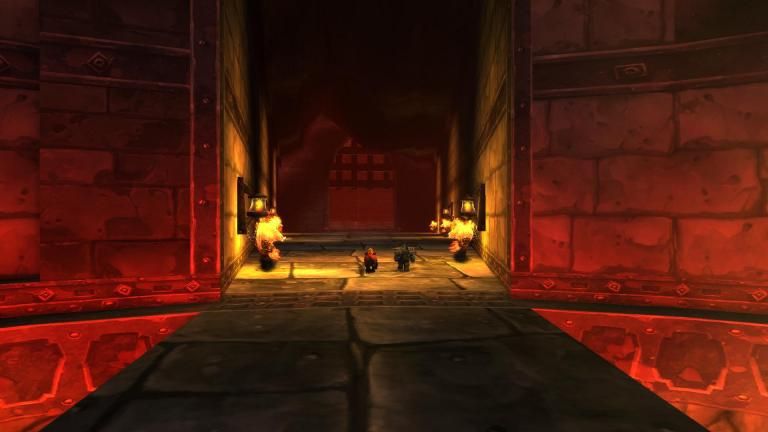
Start
The main goal of the initial part of the instance is the Shadowforge Key, which drops out after completing the Legacy of the Black Wand quest. An interesting feature here is the way to get this quest. One person from your group must voluntarily go to the world of the dead (by getting a club on the head from the local inhabitants) to see Frankclorn Ikusnik, who will ask you to kill Sharp Darkstrider and get the Great Hammer. After receiving the quest, the dead man can share it with the whole team and boldly go to be reborn. The most life-affirming quest.
Promotion
To advance in the dungeon, the group must destroy the Supreme Investigator Gershtan. This boss has an important prison key that opens the doors of all cells in the prison. To find him – just break through to the right when you enter the local prison.
After killing Gershtan, you need to move to the arena, near which Lord Lockor and Hound Grebmar will be waiting for you. These bosses are not difficult, so it makes no sense to look for special tactics for them. You kill them with a crowd and enter the arena.
The arena itself greets us with two waves of mobs that must be survived in order to face a random boss. After you kick the poor fellow, two exits will open for your group. The first will lead to the beginning of the instance, the second to the West Gate. Naturally, you are thirsty for adventure, so go to the gate. As soon as you entered the room, turn right, then go to the statue. It turns out to be a quest, and will offer you the Shadowforge's key. It is worth noting that if you are in the mood, you can kill the Pyromaniac Seed of Wisdom boss who is wandering around the statue.
If you decide to turn left at the beginning of the room, then go towards the treasury. There will be many mobs on its way, so you need to be careful. Destroy everyone and everything in your path until you get to the treasury itself.
It is highly discouraged to climb into the treasury itself, as you have few keys. In addition, to reach the most valuable treasures, the Key of the Dark Keeper is needed.
Run to the far right opening, which will lead you straight to the Craft Hall. In order to make sure of the correctness of the route – carefully (but carefully!) Look around. If you see golems wandering around the location, you are on the right track. The main goal of this hall for us is the boss – Precise Darknostroy, from which the previously mentioned Iron Friend drops out, which is necessary to complete the "Legacy of the Dark Iron" quest. Before the battle with the boss, clear the location, otherwise you risk wiping the whole team.
After destroying the boss, return to the same quest statue and turn in the task. This will give you the Shadowforge's Key. With the help of it, you can safely open all the doors in this instance, so your hands are immediately untied. Now you can head to the treasury. Annihilate both mobs and bosses there, and then open all the cells. After you've gotten enough of the treasure, return to the battle site with Sharpen Darkstroke. Move down from it until you reach Lord Scorch. Care must be taken with him, as he can quickly destroy the group with his firestorm.
After killing Lord Scorch, head to the next boss, Baile'Gore. He is disgusted by the fact that he summons a fiery spawn to his aid, which will ruin the lives of players. It should be destroyed as soon as it appears.
After destroying Baile'Gore, turn right. Here you will exit to the beginning of the instance. This completes the first part of the Blackrock Depths dungeon. It is highly recommended to return and turn in all quests, after which you can progress to level 58-60. So you will take the next quests, and you will be ready to see the depths of Black Mountain again.
Boosting
As mentioned earlier, this instance is extremely useful for beginner boosters. The first half of the GCHG allows you to quickly boost everyone, especially since there are a lot of quests associated with this instance. The main booster trick in this dungeon is a more reasonable price than, for example, in Slave Pens. Make the price lower and use the quantity. This way you will be able to lift a lot more gold.
For those who are thirsty for leveling, it will be a good idea to agree with the booster to take the dropped items and open the chests. So you can get a good cashback, as well as the equipment necessary for the further game.